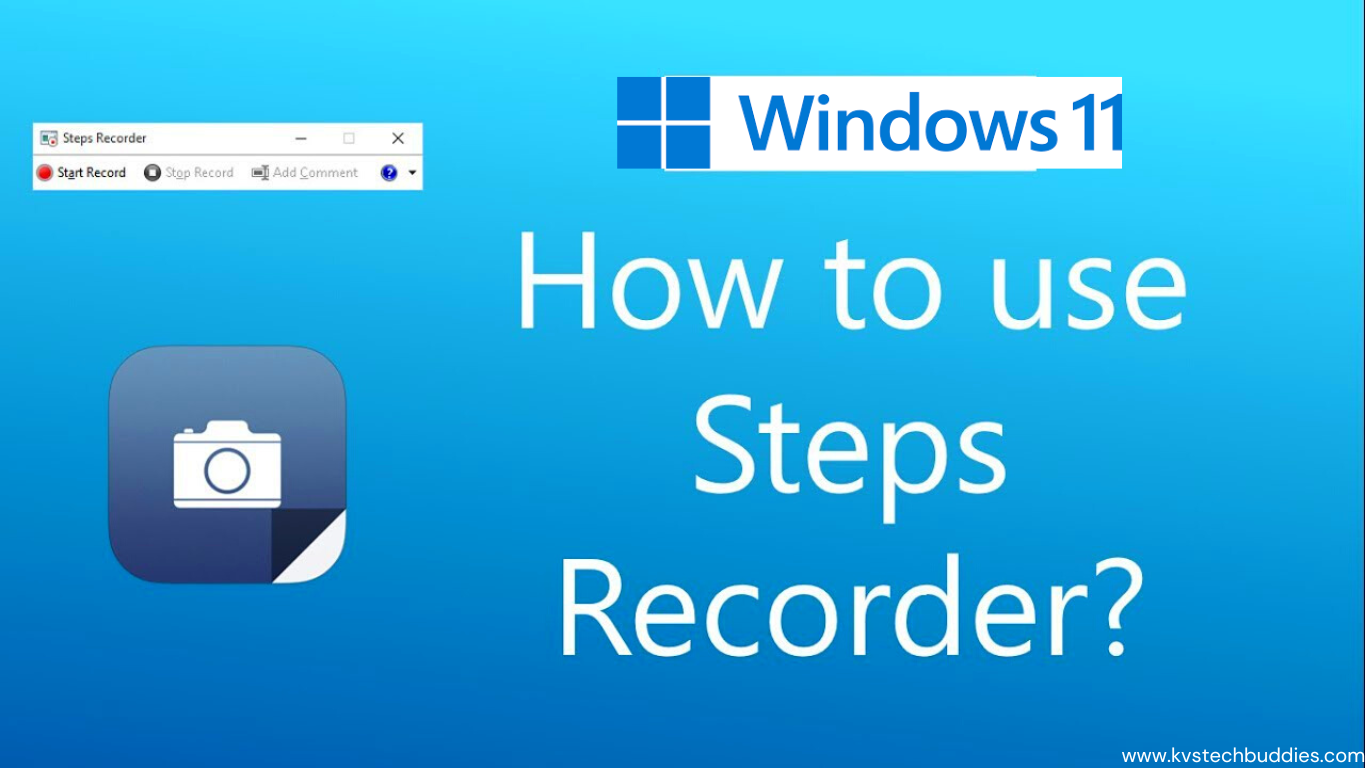
Windows is one of the most popular operating systems used globally. It has several features that make it a user-friendly OS, and one of those features is the Step Recorder. The Step Recorder is a built-in tool that allows users to record a series of steps that they take on their computer, and then save that recording as a file that can be shared with others. This tool is especially useful for troubleshooting, training, and demonstrating how to complete a task. In this blog post, we will discuss how to use the Step Recorder in Windows.
Step 1: Opening the Step Recorder
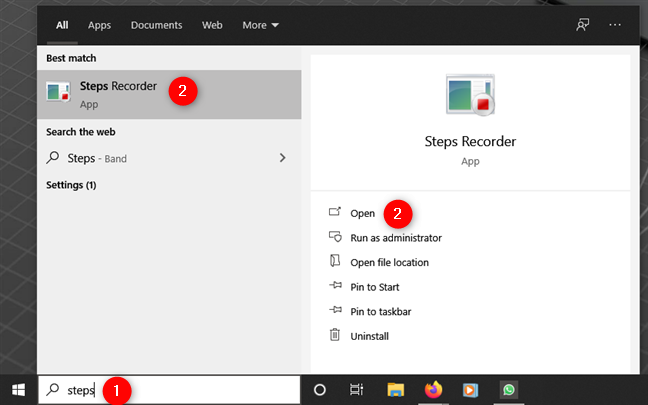
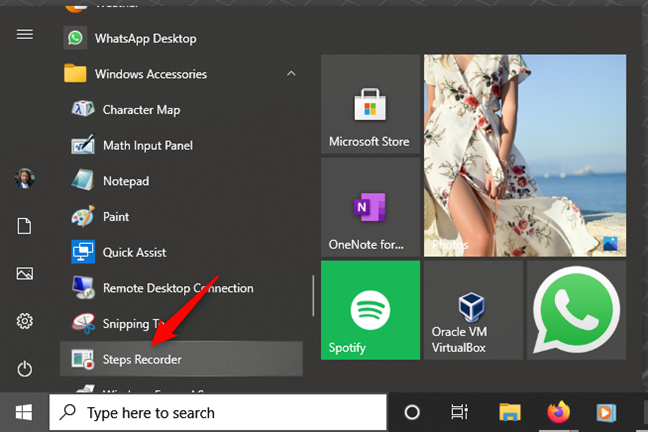
The first step in using the Step Recorder is to open it. To do this, click on the Start menu and type “Step Recorder” in the search box. Click on the Step Recorder icon that appears in the search results.
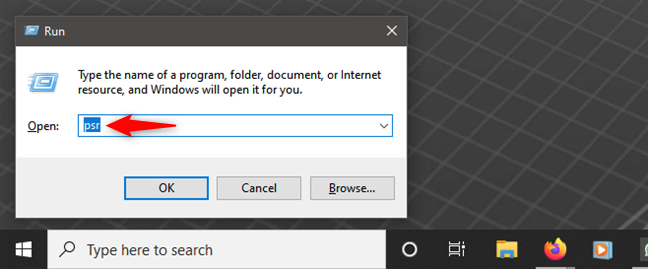
Alternatively, you can open the Step Recorder by using the Run dialog box. Press the Windows key + R on your keyboard to open the Run dialog box. Type “psr” in the box and click OK. The Step Recorder will open.
If you prefer text commands, you can also launch Steps Recorder by running the psr command in the Run window (Win + R), Command Prompt, PowerShell, or even in File Explorer.
Step 2: Start Recording
Once the Step Recorder is open, click on the Start Record button. The tool will then begin to record every mouse click, keyboard stroke, and screen change that occurs on your computer. You will notice that the tool displays a message indicating that it is recording.


Step 3: Perform the Steps You Want to Record
After starting the recording, perform the steps that you want to record. For example, if you want to record how to create a new folder on your desktop, perform the following steps:
- Click on the desktop to make it the active window.
- Right-click on the desktop and select New > Folder from the context menu.
- Type a name for the folder and press Enter.
As you perform these steps, the Step Recorder will record them.
Step 4: Stop Recording
Once you have completed the steps you want to record, click on the Stop Record button in the Step Recorder. The tool will then stop recording and display a message indicating that it has stopped.
Step 5: Review and Save the Recording
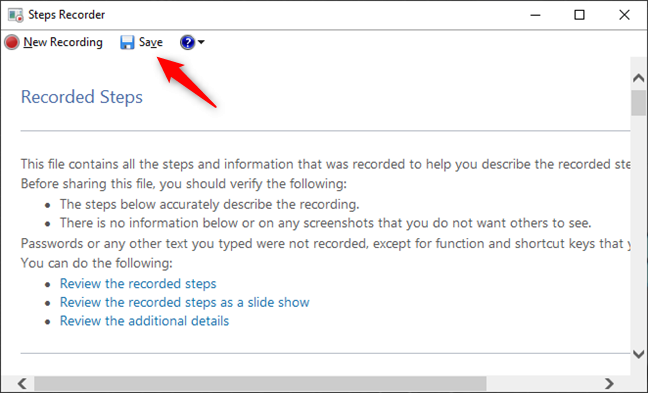
After stopping the recording, the Step Recorder will display the recorded steps in a window. You can review the steps to ensure that they were recorded correctly. If everything looks good, you can save the recording as an HTML file by clicking on the Save button and selecting a location to save the file.
Step 6: Share the Recording
Once you have saved the recording, you can share it with others by sending them the HTML file. They can then open the file in a web browser and view the steps you recorded. This is especially useful for demonstrating how to complete a task or for troubleshooting a problem.
Bounding Link – Google
Additional Tips and Tricks
Here are a few additional tips and tricks to help you get the most out of the Step Recorder:
- Add Comments: While recording, you can add comments to each step by clicking on the Add Comment button. This allows you to provide additional information about each step and make the recording more informative.
- Configure Settings: You can configure the settings of the Step Recorder by clicking on the Settings button. This allows you to change options such as where the recordings are saved, how many screen captures are taken, and how long the tool waits before taking a screen capture.
- Use Shortcut Keys: To make using the Step Recorder more efficient, you can use shortcut keys. For example, press Ctrl + Alt + M to start recording, and Ctrl + Alt + S to stop recording.
Conclusion
The Step Recorder is a handy tool that allows you to record a series of steps that you take on your computer. This tool is especially useful for troubleshooting, training, and demonstrating how to complete a task. By following the steps outlined in this blog post,
- How to Create Studio Ghibli-Style AI Images for Free Using ChatGPT
- How to Watch IPL 2025 for FREE from Anywhere in the World: Ultimate Guide
- MAONO Wave T5 Wireless Microphone | Maono Wave T5 AI Lavalier Mic
- BSNL BiTV: Enjoy 450+ Live TV Channels at No Extra Cost
- WhatsApp Governance: Transforming Access to Government Services in Andhra Pradesh


